How to create floating candle centerpieces with candle sand, the look you've seen all over Pinterest and Instagram. Step-by-step setups for home, dinner parties, weddings, and seasonal decor.
Quick links: Why floating candles look so good · Why candle sand works for this · What you'll need · Step-by-step · Floating centerpiece ideas · Common mistakes · Cleanup and reset · FAQ · Bottom line
You've almost certainly seen them. A clear glass vessel, water inside with flowers or stones suspended below the surface, and a small flame floating quietly on top. Floating candle centerpieces have been a Pinterest staple for years, and they keep showing up because they do something most decor can't: they combine fire, water, glass, and reflection into one quiet, mesmerizing object.
The classic version uses pre-made floating wax discs, but candle sand gives you a much more flexible way to create the same effect. Instead of being stuck with a fixed disc shape, you choose the size of the candle area, the number of wicks, and the decor underneath. You also use far less wax, since most of the vessel is water and the candle sand only goes on top.
In this guide, you'll learn how to make floating candle centerpieces with candle sand for your home, your dinner table, weddings, and seasonal styling, including what vessels work best, how to keep wicks dry, and how to use decor under the waterline.
💡 New to Candle Sand? Read our article on what is candle sand first!

Why floating candle centerpieces look so good
The appeal is almost entirely visual. A flame above water reflects twice, once on the surface and again on the inside walls of the glass. Add a few elements below the waterline, like fresh flowers, citrus slices, or smooth river stones, and the whole vessel becomes a small, glowing scene rather than a single candle.
It's a styling effect, not a more practical kind of candle. A pillar candle on a brass holder is just as functional. But the floating version produces a softer, calmer mood that works for nearly any occasion, from a quiet evening at home to a wedding reception.
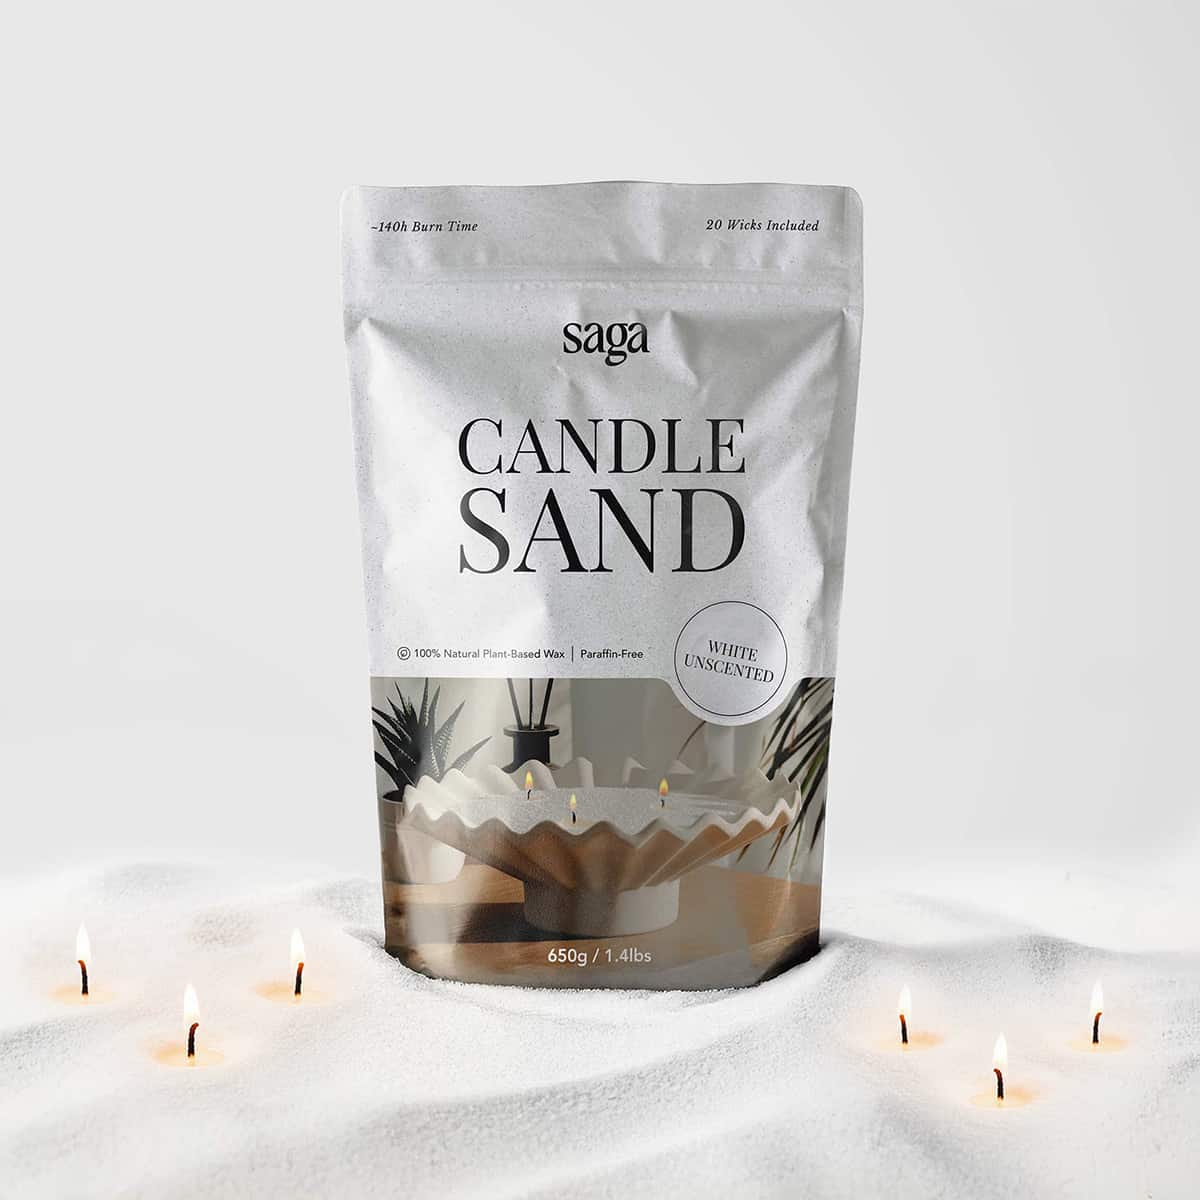
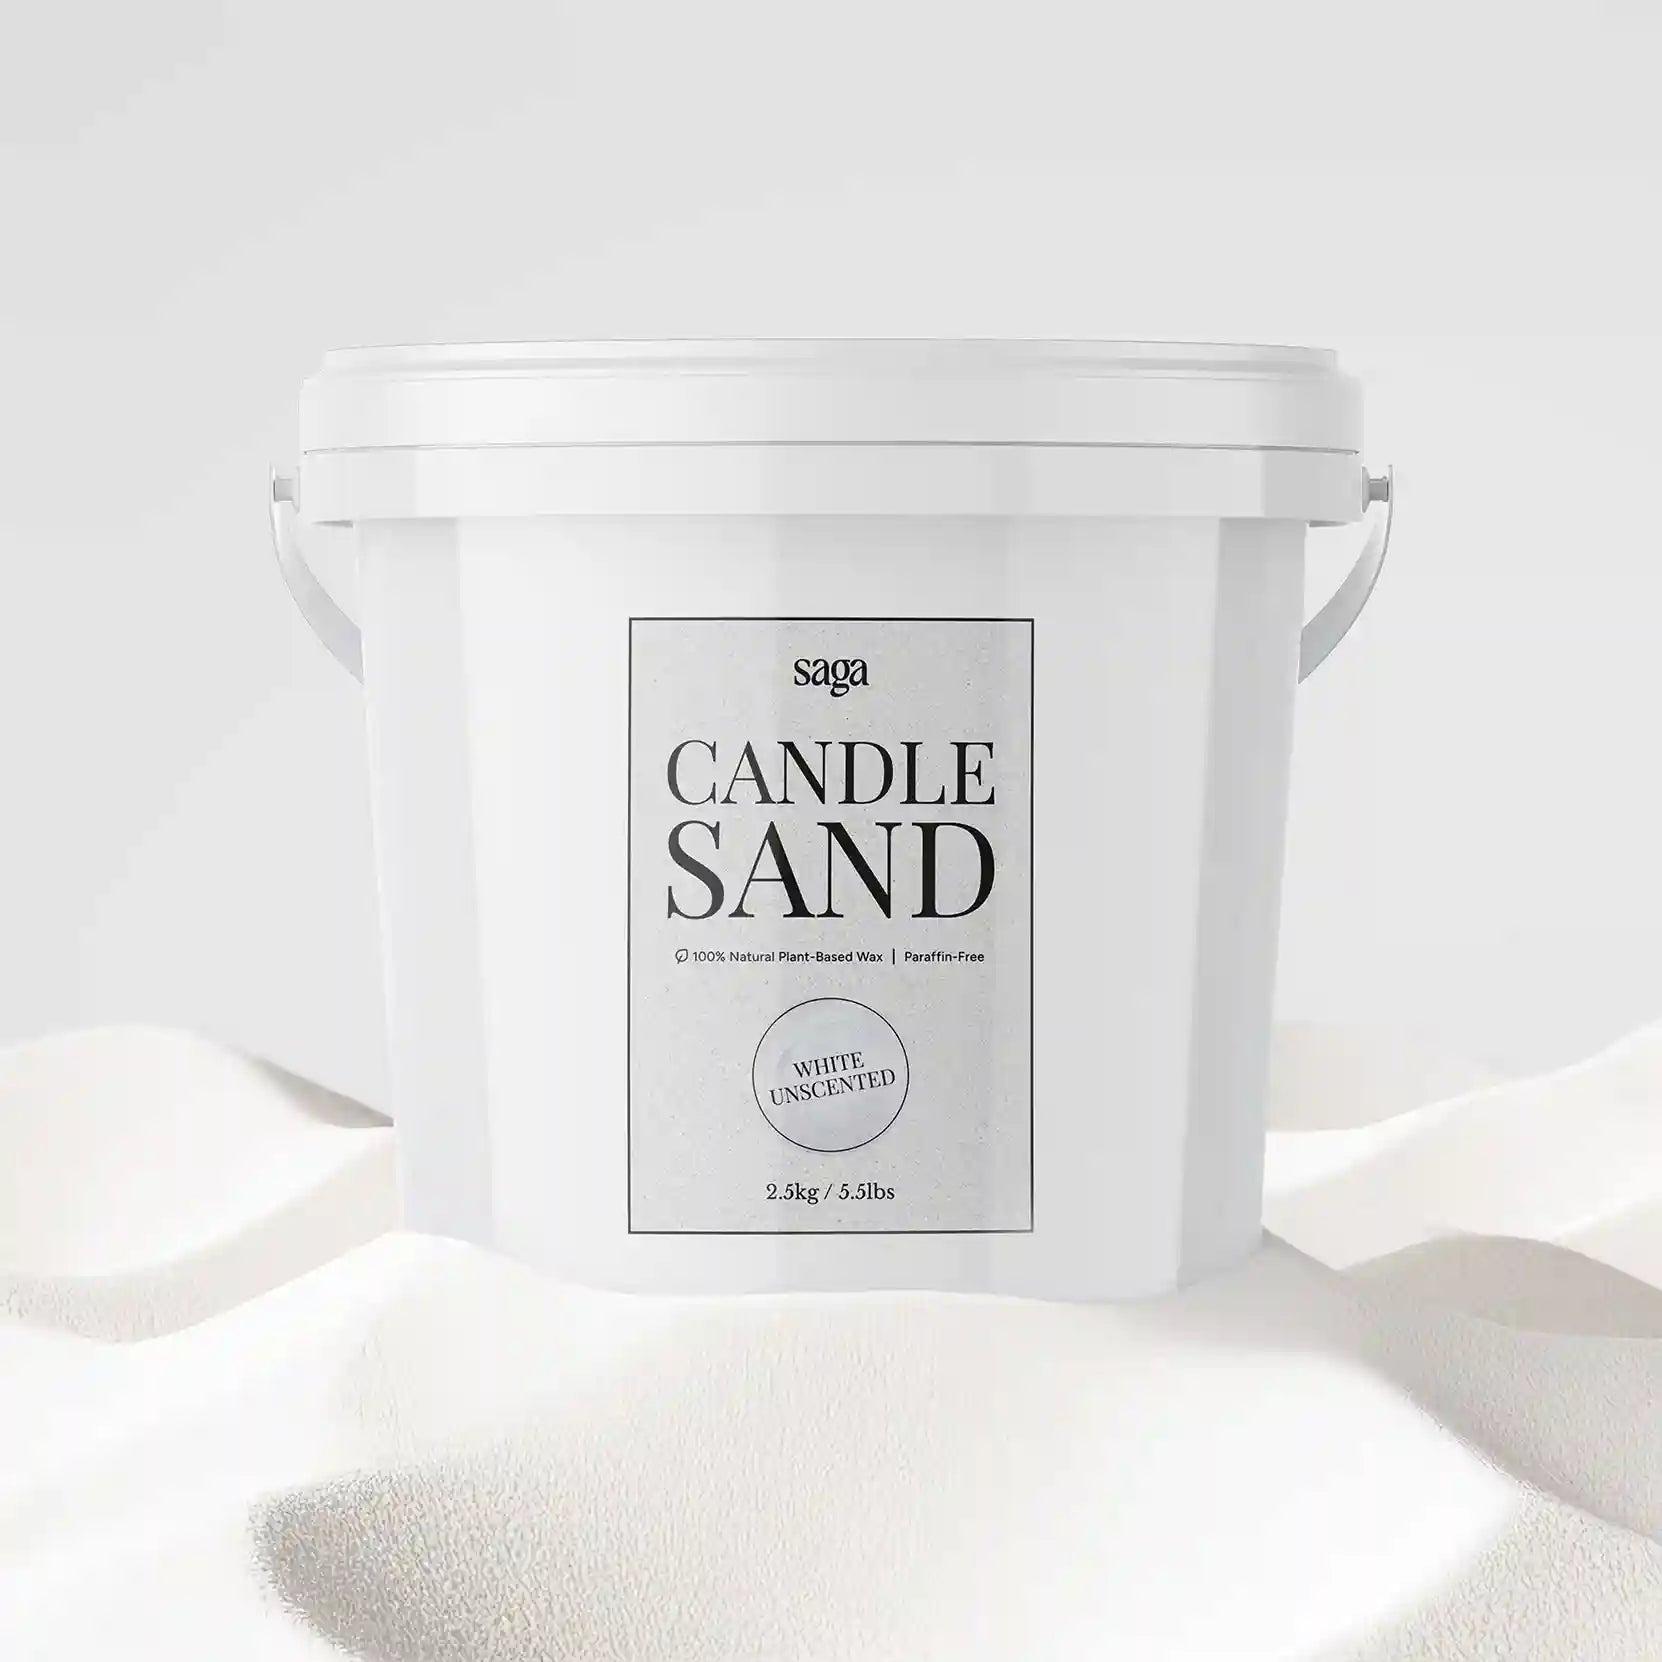
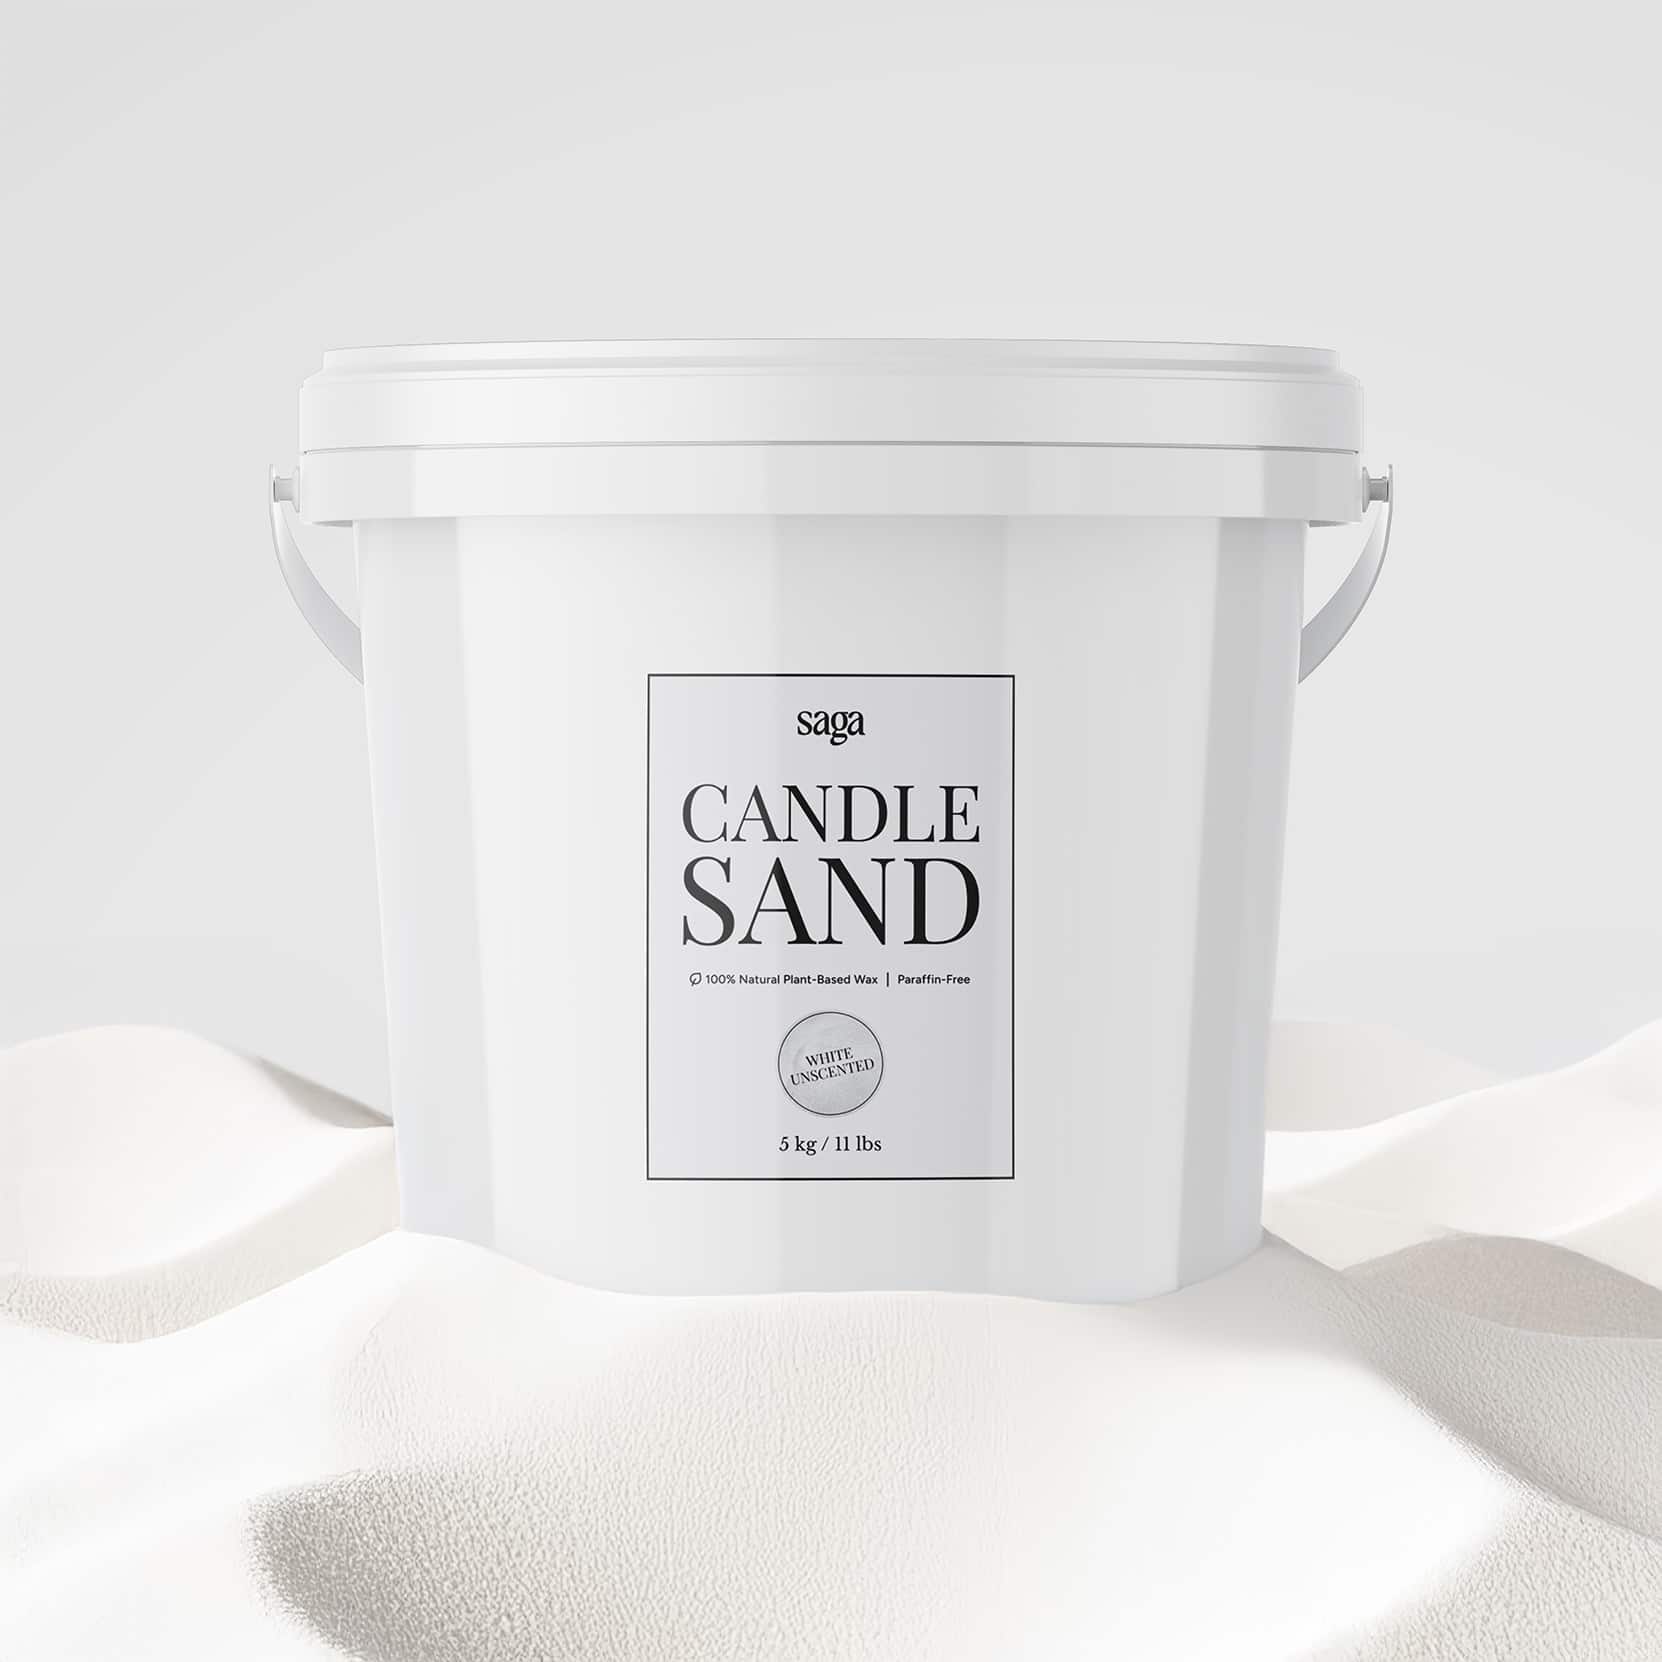
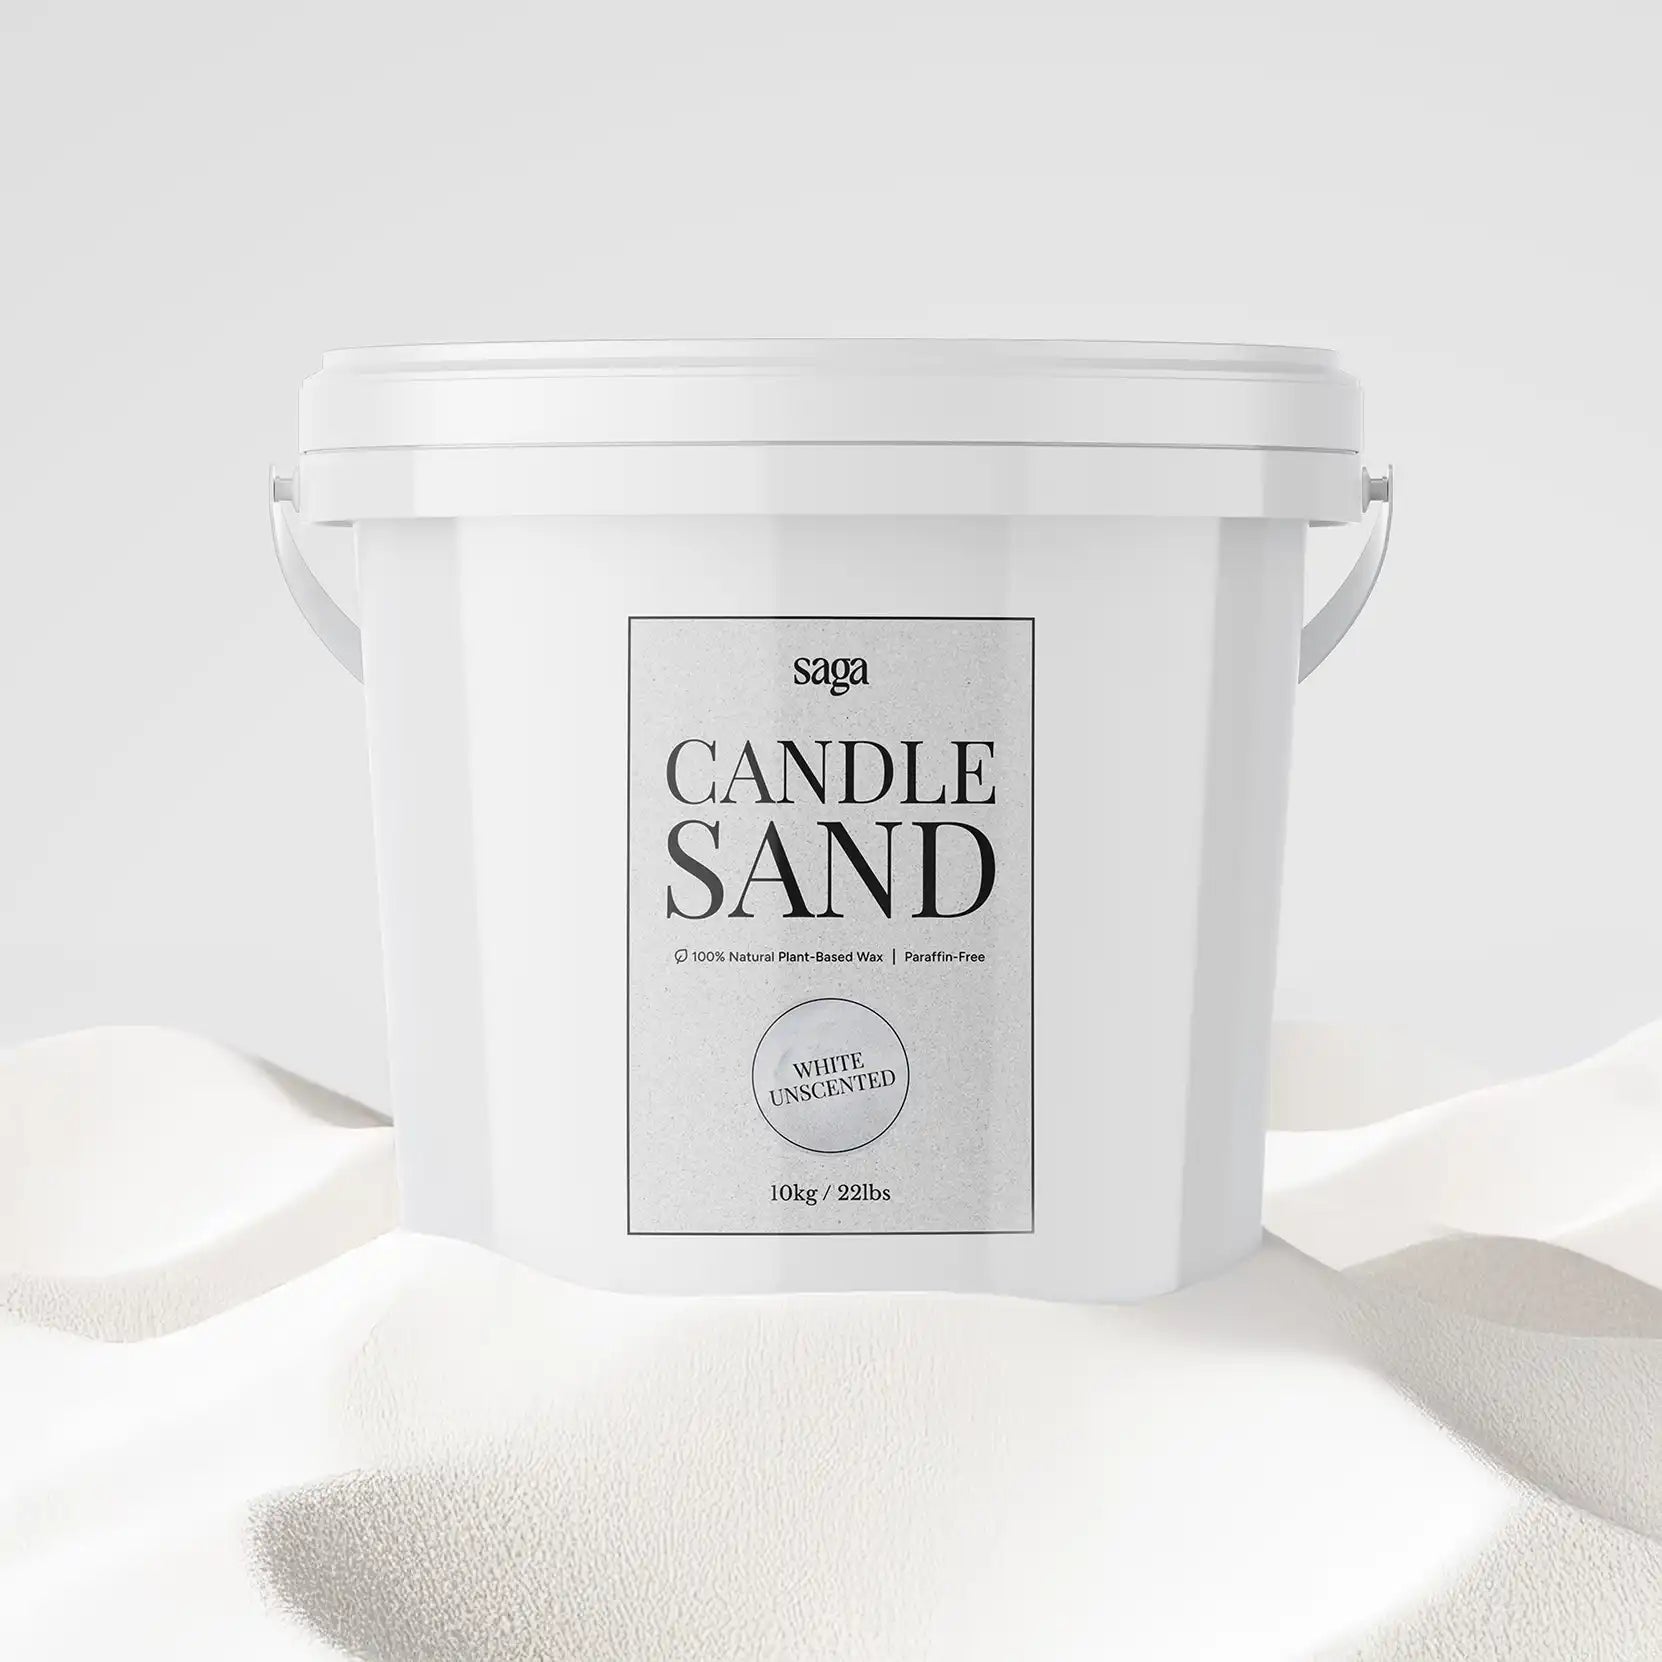
Saga candle sand is made by hand using 100% plant-based vegetable wax and cotton wicks, with no paraffin and no soy. The white variant floats on water and is the one to use for the classic floating centerpiece.
Why candle sand works for this
Candle sand is granular wax. Instead of one solid molded shape, you pour it into whichever heat-resistant vessel you like, and the wicks go in afterwards. For floating displays, this matters in a few specific ways.
You only need a thin layer. Most of the vessel is water. The candle sand sits on top in a layer at least 5 cm (about 2 inches) deep, enough to hold the wick upright and let it burn cleanly. You use a small amount of wax compared to filling a whole container, so a single bucket builds a long row of vessels for an event or refreshes the same bowl at home for months.
You choose the candle area. One quiet flame in the middle? Pour a small floating circle of sand. Three wicks in a wide bowl? Pour a wider area and place each wick at least 8 cm (about 3 inches) apart.
You're not stuck with a wax disc shape. Pre-made floating candles come in fixed sizes. With candle sand, your vessel doesn't have to fit a standard disc, so you can use almost any heat-resistant glass piece you already own, from a low ceramic bowl to a tall hurricane vase.
White unscented candle sand is the one that reliably floats and is best for the classic effect. The colored variants (Black, Wine Red, Sky Blue, Emerald Green) behave differently in water and aren't the go-to for floating displays. They're still worth experimenting with for layered looks, for example a thin colored sand layer at the bottom of a tall vessel before adding the water and the white floating layer on top.

What you'll need
You don't need anything specialist. Most of this is probably already in your kitchen or garage.
A heat-resistant vessel
Clear glass shows the floating effect best because you can see the water, the decor below, and the reflection. Both shallow and tall vessels work, and the choice depends on the look you want.
Wide, shallow bowls give you a horizontal scene. The flame, the water surface, and any floating petals are all visible from above, which works well as a low dinner table centerpiece.
Tall cylinder or hurricane vases give you a vertical scene. You can submerge longer flowers, stack pebbles deeper, or fill the vessel with several inches of water and still have the floating candle layer on top. This is the more dramatic version, and it's the one you usually see at weddings.
Goblets, glass canisters, fishbowls, and large drinking glasses all work too. The only firm requirements are heat resistance, a stable base, and a wide enough opening that the flame sits comfortably away from the rim. Our guide to sand candle holders and bowls goes deeper on which shapes burn cleanest.
White candle sand
For floating displays, use white unscented candle sand. It sits on the water surface and supports the wick from above.
You'll use less than you think. A floating layer of at least 5 cm (about 2 inches) is all you need, and the rest of the bucket can go toward other displays around the house.

Saga Candle Sand
View product +
Cotton wicks
Dry cotton wicks are essential. A wet wick struggles to light and burns unevenly if it lights at all. Always build the water and decor layer first, sprinkle the candle sand on top, and only then insert the wick.
Each Saga wick burns for approximately 12 hours, and extras come with every order. Trim the wick to roughly 1/4 inch (about 6 mm) above the sand for a cleaner, steadier flame.
Water
Water depth is more flexible than people often assume. Floating candles work in as little as 1/2 inch (about 1 cm) of water, and they also work in a tall hurricane vase filled nearly to the top. Use whatever depth suits your vessel and the look you're going for.
The one fixed rule: the candle sand has to sit above the water line, and the wick has to stay dry. Whether there's two centimetres of water below it or twenty doesn't change how the candle burns.
Distilled water can help fresh flowers last longer in the vessel, but tap water is fine for shorter displays.
Decorative elements
Decor is half the point of a floating centerpiece because the water gives you a clear medium to suspend things in. Popular options:
- Fresh flowers. Submerged roses, peonies, tulips, hydrangeas, or orchids look striking through the water. Trim stems short.
- Dried florals and greenery. Eucalyptus, ruscus, and other sturdy stems hold up well. They tend to float, so you may need to anchor them.
- Citrus slices. Lemon, lime, or orange add color and freshness, especially for summer tables.
- Stones, pebbles, glass beads. Sunken at the bottom of the vessel for depth and to anchor floating elements.
- Seasonal items. Cranberries and pinecones for winter, seashells and sand for coastal styling, autumn leaves and cinnamon sticks for fall.
Keep the editing tight. Open water is what reflects the flame, so leave room for it to do that. A vessel packed end to end loses some of the calm, glowing quality.
Step-by-step: a classic floating centerpiece
This basic method works whether you're using a shallow bowl on a coffee table or a tall hurricane vase on a banquet table. Adjust water depth and decor to your vessel.

- Place your decor first. Stones, pebbles, or anchored items go in before water. For submerged flowers, trim stems and arrange them inside the vessel.
- Pour water gently. Fill to whatever depth suits your vessel, leaving enough headroom that the flame sits well below the rim.
- Add floating decor. Petals, citrus slices, or floating flower heads can go on the water surface around where the candle will sit. Keep the centre clear.
- Sprinkle white candle sand on top. Pour gently so the granules float rather than getting pushed under. Aim for a layer at least 5 cm (about 2 inches) deep so the wick has a stable base and burns cleanly.
- Insert the wick while it's dry. Place it vertically in the candle sand layer. The top of the wick should sit clearly above the sand and water.
- Trim and light. Cut the wick to about 1/4 inch above the sand. Light it, give the flame a minute to settle, and avoid moving the vessel.
- Add more wicks if your vessel is wide. Keep wicks at least 8 cm (about 3 inches) apart so the flames burn comfortably.
That's the whole formula. Once you've done it once, you can swap the vessel, the decor, and the water depth almost endlessly.
Floating centerpiece ideas for home, dinners, weddings, and holidays
Everyday at home
You don't need an occasion. A clear bowl with a small floating candle on the coffee table, the bedside table, or a bathroom shelf is one of the calmest pieces of decor you can put down. Many people use them as a permanent fixture, refilling water and refreshing wicks as needed.
This is also a nice option if you like candles but don't want a half-burned jar sitting around. After use, you can pour out the water, scoop the unused sand back into the bucket, and reset the look for the next evening.
Dinner party centerpieces
For dinner parties, keep the arrangement low enough that guests can see each other across the table. A shallow glass bowl with white candle sand, water, and one or two wicks works without dominating the table. Pair it with linen napkins, simple ceramics, and clear glassware for a Scandinavian-feeling table where the candlelight does the work.
For longer tables, a line of smaller vessels with a single wick in each creates a soft rhythm down the middle, and gives every seat a reflection of its own.
Weddings and events
Floating candles wedding setups stay popular because they scale well. The same idea repeats across a long banquet table, an entry table, a bar, or an aisle, and it photographs beautifully because of the reflections.
Tall cylinder vases with submerged white roses or hydrangeas, water filling most of the vessel, and a single floating candle on top is the most photographed version of this look. For round reception tables, a wide glass bowl with three small floating candle sand areas and a few white petals does the same job in horizontal format. For more ideas on candle setups for ceremonies and receptions, see our events page.
Holidays and seasonal styling
Floating centerpieces are easy to update through the year. In winter, add evergreen tips, cranberries, or pinecones around the water. In spring, use pale flowers and fresh greenery. In summer, try lemon or orange slices, fresh herbs, or seashells. In autumn, use warm-toned leaves, cinnamon sticks, or amber glass.
Outdoors, tall vessels are useful because their walls help shield the flame from breeze. Floating displays also work in garden water features or stone basins, where the flame catches the surrounding planting at dusk. Try a shallow bowl from the Saga collection on a garden table with a single flame and a few floating flower heads.
Keep anything truly flammable away from the flame itself. Decor should sit in the water or around the vessel, not touching the wick.
Common mistakes
Using colored candle sand for the floating layer
White is the one that reliably floats. Save the colored variants for dry bowls and vessels, or use them as a sunken decorative layer below the water rather than on top.
Getting the wick wet
The most common problem. If the wick gets wet before lighting, it may struggle to catch and will burn unevenly if it does. Build the water and decor layer first, sprinkle the white candle sand gently, and place the wick into the dry floating sand last.
Overfilling the vessel
Leave enough space at the top that the flame sits well below the rim. The flame shouldn't be level with the edge of the glass, and there should be room for a stray gust of air to pass without pushing fire toward the rim.
Choosing the wrong container
Narrow-neck vases trap heat and make styling harder. Avoid anything with a neck noticeably narrower than the body, like a bud vase, and pick a vessel where the opening is at least as wide as the widest part.
Putting wicks too close together
Multi-wick setups are beautiful, but flames need space. Keep at least 8 cm (about 3 inches) between wicks so they burn cleanly and don't merge into a single hot spot.
Basic candle safety still applies. Never leave burning candles unattended, keep them away from drafts and flammable materials, and keep them out of direct reach of children and pets.
Cleanup and reset
One of the genuine practical benefits of candle sand is how easily the setup resets. You're not scraping hardened wax from the bottom of a jar.
Once the flame is out and the vessel has cooled, lift out the used wick. Scoop any dry candle sand from the surface back into your bucket, pour off the water, and rinse the vessel. If a small disc of wax has hardened around the wick, let it cool fully and lift it out in one piece. The remaining dry sand is reusable, and wicks can be trimmed, flipped, or replaced depending on how much burn time is left.
For events, this matters at teardown. Each vessel empties in seconds, with no wax-heavy mess to clean.
Frequently asked questions
Does candle sand float?
White unscented candle sand floats on water when poured gently onto the surface. The granules sit on top, the wick stays upright in the dry layer, and the flame burns above the water line. Colored variants are heavier and don't reliably float, so they aren't recommended for the floating layer itself.
How long do floating candle sand displays last?
Each cotton wick burns for approximately 12 hours. Total display time depends on how many wicks you light, how long you keep them lit, and whether you relight or replace wicks after the first burn. The setup itself can stay assembled for as long as the water and decor stay fresh.
How do you make floating candles DIY-style with candle sand?
Add decor and water to a heat-resistant vessel, sprinkle white candle sand gently onto the water surface, then insert a dry cotton wick into the floating sand layer. Trim the wick to about 1/4 inch and light it after it's stable and dry.
Can you use a tall vase for floating candle centerpieces?
Yes. Tall hurricane vases and cylinder vases work well for floating displays, especially when you want to submerge longer flowers or create a more vertical look. Fill the vase with water to whatever depth you like, then float the candle sand layer on top.
What flowers work best for submerged floating candle centerpieces?
Fresh flowers with sturdy heads work best, including roses, hydrangeas, orchids, tulips, and peonies. Trim stems short before submerging. Dried florals tend to float and may need anchoring with a glue dot or a weighted stem holder.
Are floating candle centerpieces safe?
They can be a more forgiving setup than dry candles, because the water acts as a buffer if the vessel is bumped. But they are still open flames. Use heat-resistant vessels, leave room between the flame and the rim, keep wicks at least 8 cm apart, and never leave them unattended.
Bottom line
Floating candle centerpieces are popular because the combination of water, flame, glass, and reflection is genuinely beautiful, and candle sand is a flexible way to build the look. You choose the vessel, the depth of water, the decor underneath, and the size of the candle layer on top. White unscented candle sand floats reliably and gives the cleanest effect.
The setup is simple: decor first, water next, candle sand sprinkled gently on the surface, dry wick placed last. From there, swap the vessel and the decor as often as you want.
Ready to try the look at home? Browse white candle sand, bowls, and styling supplies at Saga Candles.