If you've just unboxed your first bag of candle sand and you're wondering "ok... what now?", you're in the right place. This is the complete beginner's guide: what you need, how to set up your first candle in under five minutes, the four mistakes most beginners make, and how to refresh, refill, and troubleshoot. By the end, you'll be using candle sand like you've been doing it for years.
Quick links: What you need · Step-by-step setup · 4 mistakes to avoid · Adding scent · Multi-wick setups · How to refresh and refill · Storing your sand · Troubleshooting · FAQ · Bottom line
Candle sand is one of those products that looks more complicated than it actually is. The first time you see it, the granular wax can feel like there's some special technique you're missing. There isn't. Setting up a candle sand candle takes about two minutes once you know what you're doing, and the whole thing is honestly more forgiving than burning a traditional pillar candle.
What separates a beautiful, evenly burning setup from a frustrating one isn't skill or experience. It's just knowing a handful of small things up front: how deep to bury the wick, how far apart to space multiple wicks, how to handle the sand when you're refilling, and what to do if something doesn't burn quite right. This guide walks through all of it.
💡 New here? If you haven't already, read our quick primer on what candle sand is. It covers the basics of how the product works before you set up your first candle.
What you need to get started
The materials list is short. You probably already have most of it.
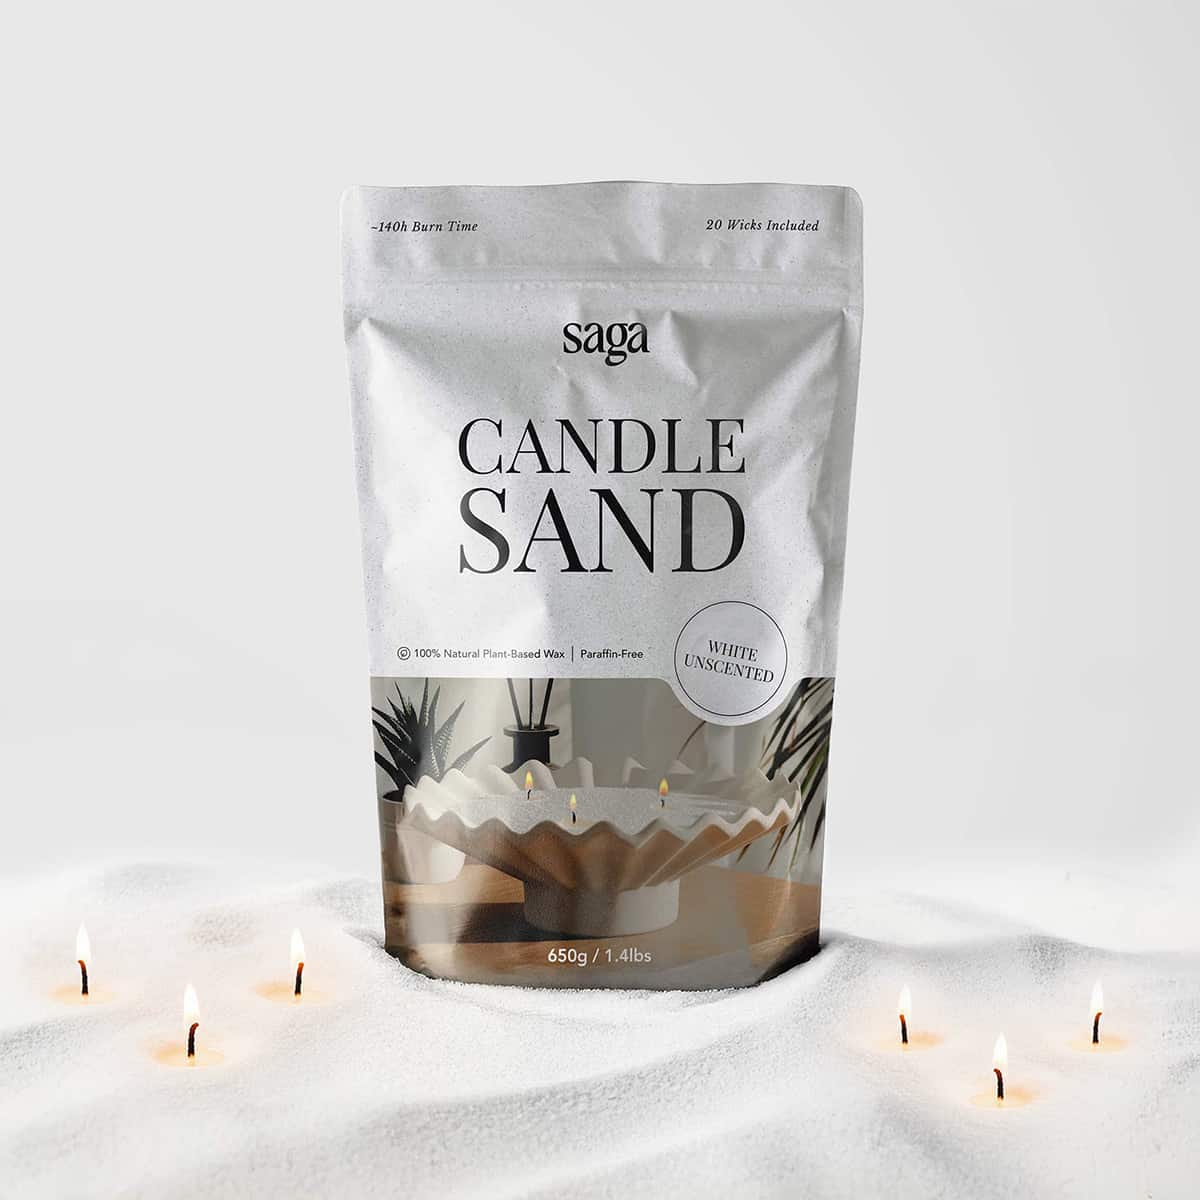
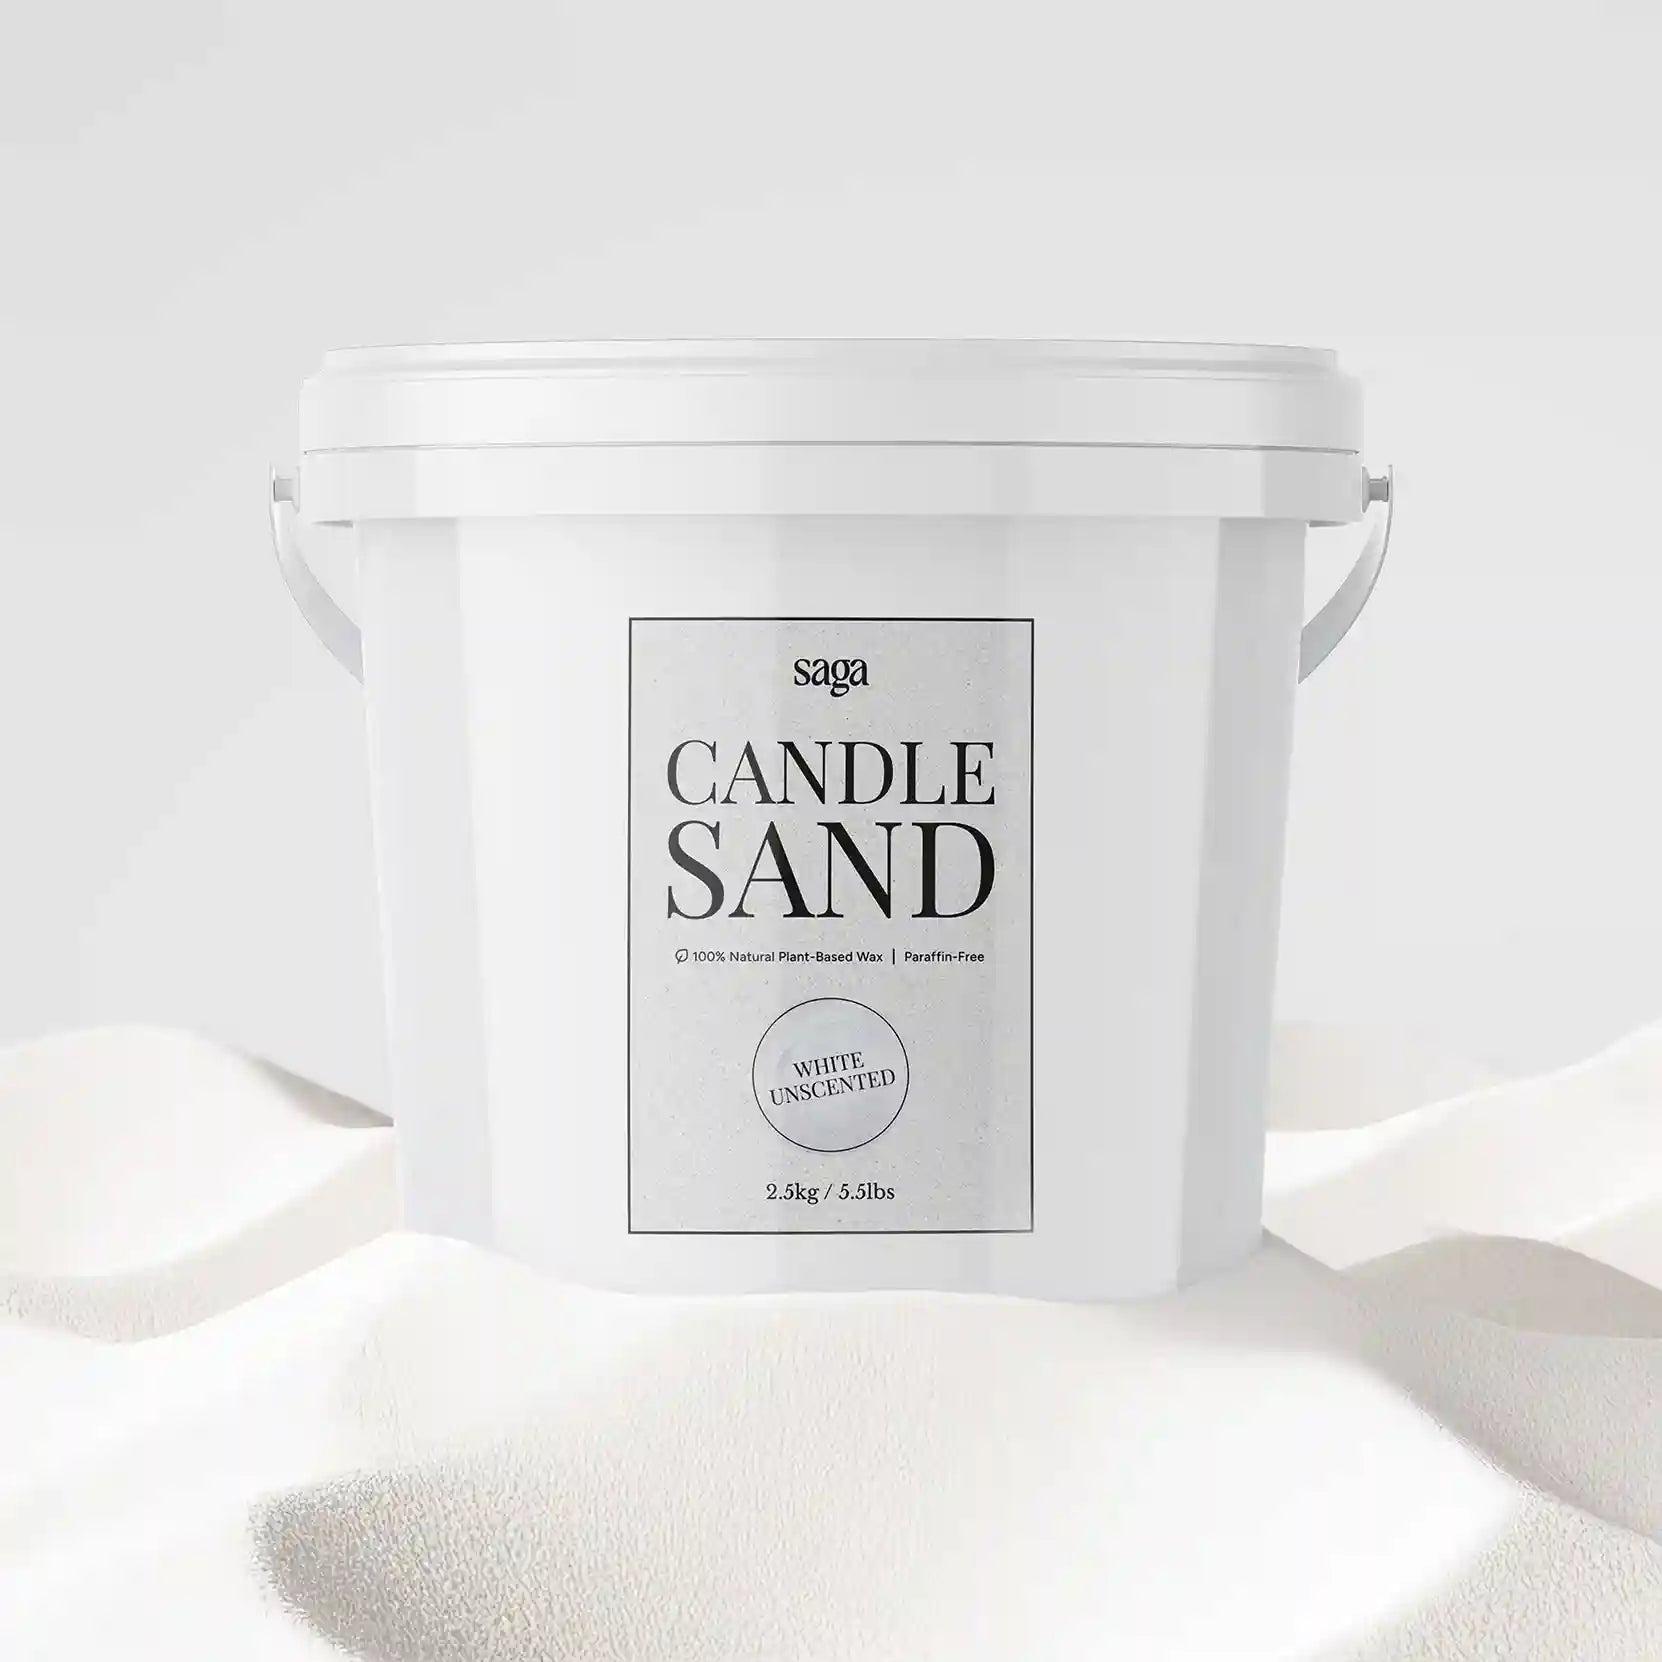
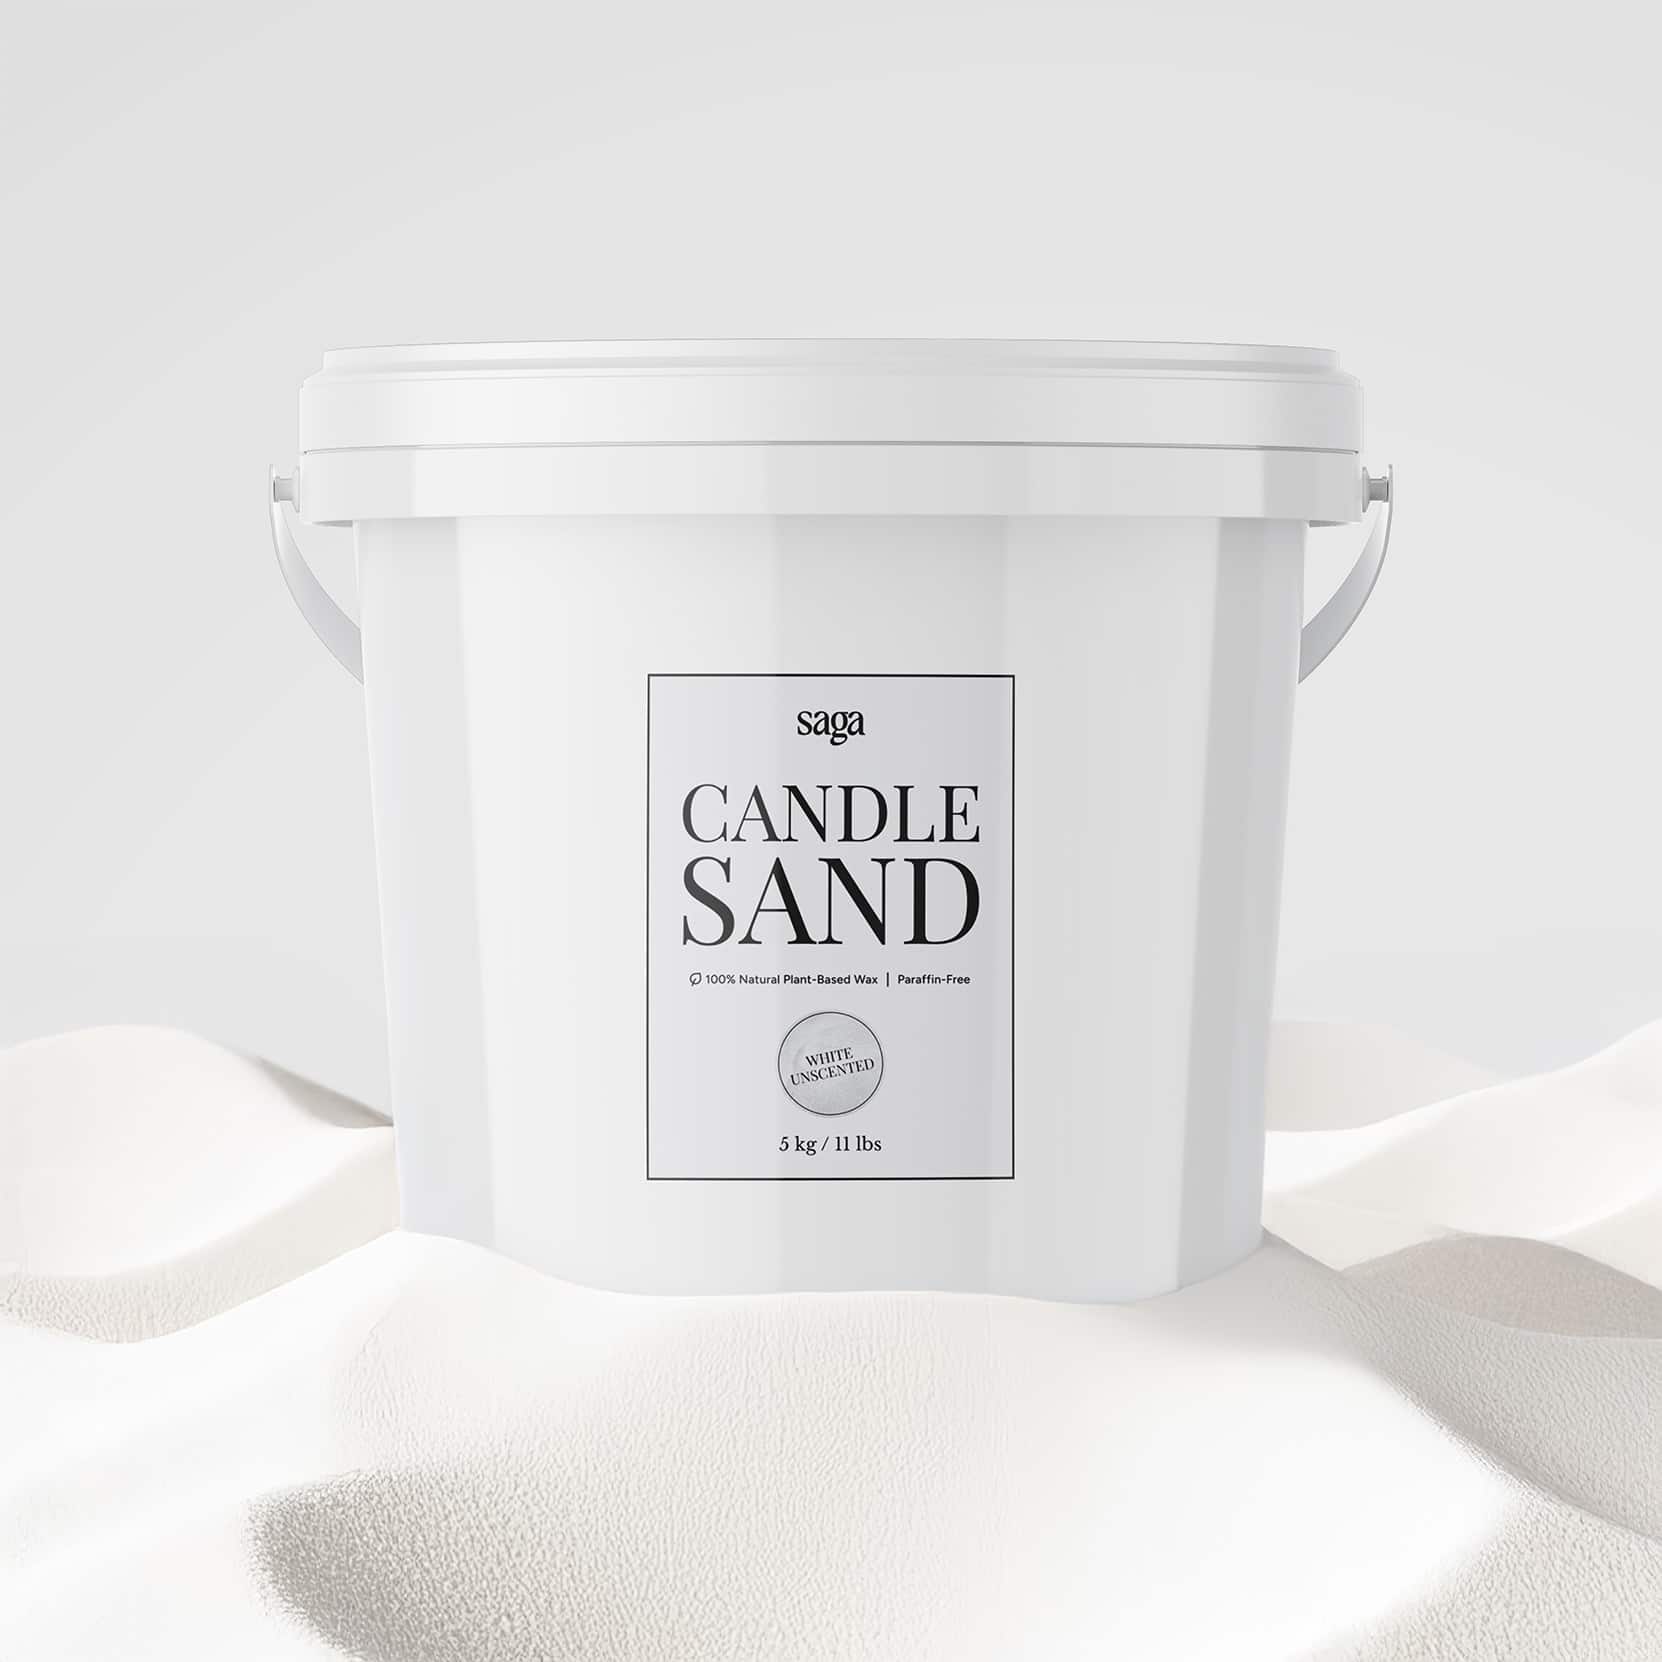
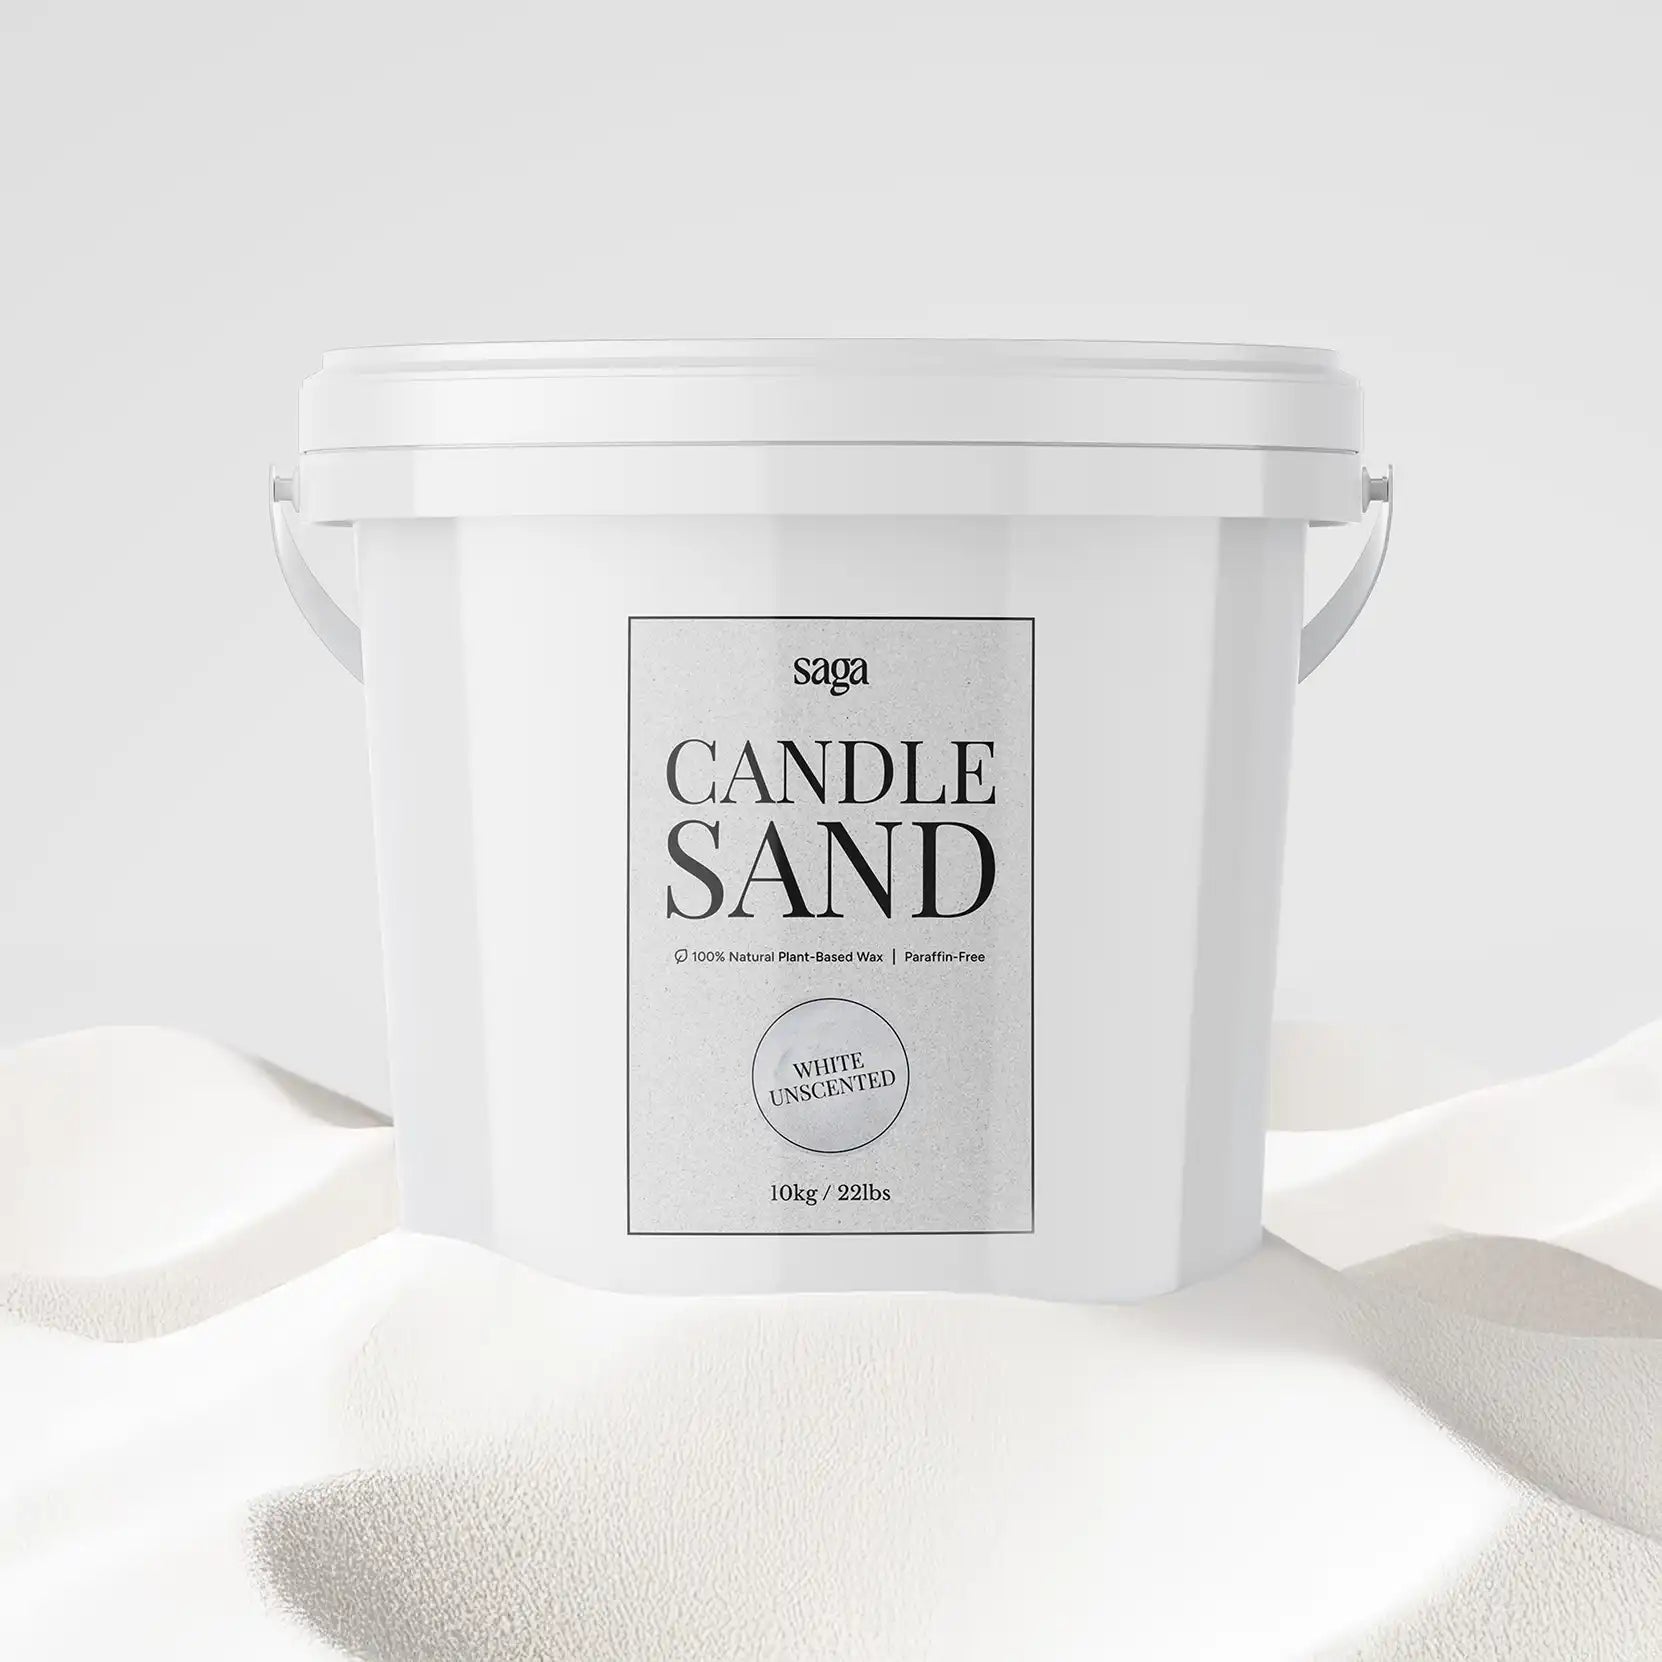
- Candle sand. The granular plant-based wax itself. Available in white, black, wine red, sky blue, and emerald green for unscented options, plus pre-scented packs in various fragrances.
- A heat-resistant bowl or container. Glazed ceramic, thick glass, or solid metal. We've covered the full container guidance separately in our sand candle holders and bowls guide, but for your first setup, any bowl with a flat base, at least 4cm (1.5 in) deep, and 8 to 15cm (3 to 6 in) wide will work.
- Cotton wicks. These come included with Saga candle sand, so you don't need to buy them separately. Cotton burns clean, doesn't soot heavily, and stays lit reliably in granular wax.
- A flat, heat-safe surface to place the finished candle on. A coaster, trivet, or dedicated candle tray is ideal. Avoid wood directly, fabric, or anything flammable nearby.
- Scissors or wick trimmer. Optional but useful, since you'll be trimming wicks before each burn.
That's it. No melting equipment, no thermometers, no preparation time. The whole point of candle sand is that the granular format eliminates the complicated parts of candle making.

Saga Candle Sand
View product +
Step-by-step: setting up your first candle sand candle
Once you have your materials, the actual setup takes about two minutes. Here's the full process from empty bowl to first flame.

- Place your bowl on a flat surface. Make sure it's stable, level, and not on or near anything flammable. A solid kitchen countertop or coffee table works well for testing your first burn.
- Pour the candle sand in. Fill the bowl to the depth you want, leaving about 1cm (0.4 in) of space below the rim. For a small bowl this might be 3 to 4cm (1.2 to 1.6 in) of sand. For a larger centrepiece bowl, 5 to 7cm (2 to 2.75 in) is good. Don't pack it down. Just let it settle naturally.
- Level the surface. Gently tap the side of the bowl or shake it lightly so the sand surface becomes even. A flat surface helps the wick stand upright and burn evenly.
- Insert the wick into the centre. Push the cotton wick straight down into the sand. You want the wick buried about 3 to 5cm (1.2 to 2 in) deep, with no more than 1cm (0.4 in) sticking up above the surface. This depth is critical: too shallow and the wick won't stay lit, too deep and the flame will struggle to start.
- Check that the wick stands upright. If it leans to one side, gently press the sand around its base to straighten it. A wick that leans will burn unevenly and can scorch one side of the bowl.
- Trim the wick to about 0.5cm (0.2 in). If the wick is sticking up too high, trim it. A short wick produces a small, controlled flame. A long wick produces a tall, smoky flame that consumes wax fast and looks messy.
- Light it. A long lighter or long match works best. Hold the flame to the wick tip until it catches. The first few seconds you might see a bigger flame as the wick stabilizes, which is normal.
That's your first candle sand candle. It should burn cleanly and steadily, with a calm flame that doesn't flicker dramatically or smoke. Each cotton wick will burn for around 12 hours before it's spent.
4 common mistakes beginners make (and how to avoid them)
Almost every problem people run into with candle sand traces back to one of four small things. None of them are obvious if you've never used the product before, but once you know what to look for, you'll never make them.

Mistake 1: Burying the wick too shallow
The single most common issue. People often push the wick into the sand by just a centimetre or two and assume that's enough. It isn't. A shallow wick has nothing anchoring it, so it leans, falls over mid-burn, or extinguishes itself when the small melt pool reaches the loose sand around it.
Fix: Bury the wick at least 3cm (1.2 in) deep, ideally 4 to 5cm (1.5 to 2 in) in larger bowls. Only 0.5 to 1cm (0.2 to 0.4 in) should be visible above the surface. If your wick is shorter than 4cm to begin with, your bowl might be too shallow for safe use.
Mistake 2: Putting too many wicks too close together
The instinct with a beautiful wide bowl is to add lots of wicks for maximum drama. The problem is that each wick creates its own melt pool around itself. If two wicks are closer than 7cm (about 2.75 inches), their melt pools merge, the wax overheats, and the burn becomes uneven and unsafe.
Fix: Always keep at least 7cm (2.75 in) between wicks. So a 14cm (5.5 in) bowl can hold two wicks. A 21cm (8 in) bowl, three. A 28cm (11 in) tray, four. More than that and you're crowding.
Mistake 3: Skipping the wick trim
A long wick produces a tall flame that throws soot, eats through wax fast, and looks unattractive. People often skip the trim because they think candle sand is "low maintenance" and forget that wick care still matters.
Fix: Trim the wick to about 0.5cm (0.2 in) before every burn. If the wick is curling or has a black mushroom-shaped tip from a previous burn, snip that off too. A clean, short wick gives a clean, calm flame.
Mistake 4: Burning for too long in one session
Candle sand is reusable and long-lasting, which sometimes leads people to leave it burning for an entire day. Long burn sessions overheat the bowl, can melt larger areas of sand than intended, and shorten the life of each wick.
Fix: Limit burn sessions to about 3 to 4 hours at a time. Extinguish, let everything cool fully (at least 1 to 2 hours), then relight if you want to keep going. This protects your bowl, keeps the burn even, and stretches your wicks further.
How to add scent to unscented candle sand
If you've bought unscented candle sand, you can add your own fragrance using essential oils. The method is simple: add a few drops of high-quality essential oil directly next to the wick. Start with just a few drops, light the candle, and see how strong the scent throw is. If you want a stronger fragrance, add more drops next time. It's easier to add more than to take away, so always start light.
Two important rules:
- Never add essential oil to a candle that's already lit. Always scent the sand before lighting. Adding oil to an open flame is a fire risk and can splatter dangerously.
- Less is more. Essential oils are concentrated, and a few drops go a long way. Over-scenting can produce a strong burn smell and clog the wick.
If you want stronger, more consistent scent throw without trial and error, pre-scented candle sand packs are blended at the manufacturing stage with IFRA-certified fragrance oils, which produce a more even and reliable fragrance experience than DIY essential oil scenting.
Read more about scented candle sand from our other article.

Multi-wick setups: how to build a centrepiece
Multi-wick candle sand bowls are stunning and one of the main reasons people fall in love with the product. Three or four flames spread across a wide ceramic bowl throws far more light than a single wick and looks incredible on a dinner table.
The setup process is the same as a single-wick candle, with two extra considerations.
Wick spacing
As covered above, always keep at least 7cm (2.5 in) between every wick. For round bowls, place wicks in a triangle (three wicks) or diamond (four wicks) pattern rather than in a straight line, so each wick has 7cm of clearance from every neighbour, not just from the wicks immediately next to it.
Lighting order and the first burn
Light the wicks in a deliberate order rather than randomly. For three wicks, start with the centre or back wick first, then work outward. This gives each flame a moment to stabilize before the next is added. Watch your first multi-wick burn closely: if you see flames flickering toward each other, smoking unusually, or producing a noticeably larger melt pool than expected, your wicks are too close. Extinguish, let everything cool, and reposition with more spacing.
For inspiration on bowl shapes that work well for multi-wick setups, see our candle bowls collection. Wide, shallow round bowls in the 20 to 30cm (8 to 12 in) range are particularly suited for three- and four-wick centrepieces.
How to refresh and refill your candle sand
This is where candle sand really earns its keep. Unlike a traditional candle that gets uglier with each burn and eventually has to be thrown out, candle sand stays beautiful indefinitely. You just need to know how to refresh it.
Between wicks
When a wick burns down (after about 12 hours), let the candle cool fully. Then:
- Remove the spent wick stub. It will pull out cleanly, sometimes with a small hardened ball of wax around its base.
- Gently wiggle or tap the container side to side. The sand naturally settles and fills any small dimples or melt-pool indentations from the previous wick. This is much easier than trying to smooth the surface with a spoon or your finger.
- Insert a fresh wick into the centre, the same depth as before (3 to 5cm / 1.2 to 2 in).
- Light as normal.
The sand looks exactly like new. You can repeat this dozens of times before you need to think about refilling.
Cutting and reusing partially-burned wicks
If you only burned a wick for a couple of hours and there's still plenty of length left, you don't have to replace it. You can pull it out, snip off the burnt end with scissors, flip the wick upside down, and reinsert the unburnt end. This buries any small wax buildup and gives you a fresh wick to light. Note that cutting will shorten the total burn time of that wick.
When to refill the sand itself
Eventually you'll notice the sand level dropping, since each burn melts a small amount of wax around the wick. When the sand drops below the wick's recommended depth (3 to 5cm / 1.2 to 2 in above the bowl base), it's time for a refill. Just pour fresh candle sand on top of the existing sand, level the surface, and continue. The new and old sand mix seamlessly.
Storing your candle sand
Candle sand stores well for years if you keep it cool and sealed. Store unused sand in its original packaging or a sealed container, away from direct sunlight and heat sources like radiators or stovetops. Sustained warmth can cause granules to clump over time, and an open bag can pick up smells from its environment, which matters especially for unscented sand if you plan to add essential oils later. A bowl currently in active use as a candle doesn't need any special storage between burns.
Troubleshooting common problems
The wick won't stay lit
Almost always means the wick is buried too shallow, the wick has been trimmed too short, or the sand around the wick is loose. Pull the wick out, push it deeper (3 to 5cm / 1.2 to 2 in), gently press the surrounding sand to firm it up, leave 0.5 to 1cm (0.2 to 0.4 in) of wick above the surface, and try again.
The flame is huge and sooty
Wick is too long. Extinguish, let cool, trim the wick down to 0.5cm (0.2 in), and relight. If it's still oversized, you may have a wick that's wider than the bowl size suggests; switch to a thinner one or move to a wider bowl.
The wick keeps leaning to one side
Insufficient anchoring in the sand, or a draft is pulling the flame sideways. First, push more sand around the wick base and firm it up. Then check that you're not burning near an open window, vent, fan, or doorway. Drafts are the silent killer of even candle burns.
One side of the bowl is melting more than the other
Either your bowl is sitting on an uneven surface (check with a level), the wick isn't centred, or you have a draft. Reposition the bowl on a level surface, recentre the wick, and burn in still air.
The sand is clumping together
Usually a storage problem. Sand stored in warm or humid conditions can stick together over time. You can usually break up gentle clumping by gently stirring the sand with a fork or chopstick. For severe clumping, the sand may have melted partially in storage and won't return to its original loose form.
The flame extinguished itself early
If the wick goes out before the candle has been knocked, it usually means the wick was too shallow, the sand was too loose, or the wick had drowned in its own melt pool. Pull the wick, brush off any congealed wax, push the wick deeper, firm up the surrounding sand, and trim before relighting.
Frequently asked questions
How long does candle sand last?
It depends on how much sand you start with and how often you burn it. Each cotton wick burns for about 12 hours, so a single bag of candle sand can power a candle for hundreds of hours of cumulative burn time. For most people that means many months of regular evening use, sometimes a full year for occasional users.
Can you reuse candle sand?
Yes. The whole point of the product is reusability. After a wick burns down, you remove it, smooth the surface, insert a fresh wick, and light again. You can do this dozens of times before the sand level drops enough to need topping up. When it does, you just buy a refill pack.
Is candle sand safe?
Plant-based candle sand burns much more cleanly than paraffin pillar candles, with significantly less soot and no petroleum byproducts. The flame typically self-extinguishes if the bowl is tipped over, since the granules disperse and starve the wick. That said, it's still an open flame, and you should follow basic candle safety: never leave it unattended, keep out of reach of children and pets, place on a heat-safe stable surface, and don't burn near anything flammable.
Can candle sand burn in any container?
It needs to be heat-resistant. Glazed ceramic, thick or tempered glass, and solid metal all work well. Avoid plastic, raw wood, unsealed porous materials like terracotta, and thin decorative glassware. The full guidance on container choice is in the bowls guide linked earlier.
Why won't my wick stay lit?
Almost always shallow wick placement. The wick needs to be buried 3 to 5cm (1.2 to 2 in) into the sand, with the surrounding sand firmly packed around its base. If less than 3cm of wick is buried, it loses stability and gets starved of fuel as the small melt pool spreads outward.
Can you add fragrance to unscented candle sand?
Yes. Add a few drops of essential oil directly to the sand before inserting the wick, mix gently, and let it rest for a few minutes. Never add oil to a lit candle. For more reliable scent throw, pre-scented candle sand packs use IFRA-certified fragrance oils blended at manufacturing for a more consistent result. Read more about scented candles here.
Why is the flame flickering or unsteady?
Usually a draft. Move the candle away from open windows, fans, vents, or air conditioning. If the flame still flickers in still air, your wick may be slightly off-centre or the sand around the base has loosened. Reposition and firm up the sand.
How do I know when to replace the wick versus refill the sand?
Replace the wick when it burns down past about 1cm (0.4 in) above the sand surface, or when it gets sooty and won't burn cleanly. Refill the sand when the level has dropped enough that you can no longer bury a fresh wick to the proper 3 to 5cm (1.2 to 2 in) depth. The two happen on different schedules, and you'll go through many wicks before you need to refill the sand.
Disclaimer: Candle sand is generally safer than traditional pillar candles in certain ways, but it still involves an open flame. Always follow basic candle safety: never leave a candle unattended, keep flames out of reach of children and pets, place on a stable heat-safe surface, and don't burn near anything flammable. Saga is a candle maker, not a fire safety authority. If in doubt, follow the most cautious option.
Bottom line
Candle sand is one of the most forgiving candle formats to use, once you know the small handful of rules experienced users have figured out. Bury the wick deep enough, give multiple wicks proper spacing, trim before each burn, and limit individual sessions to a few hours. That's basically the whole game. Once you've got the rhythm down, the same bag of sand can be a quiet bedside light one week, a multi-wick centrepiece the next, and a refilled-and-refreshed showpiece for years.
If you don't have a bag yet, that's where to start. Saga Candles makes candle sand from 100% plant-based vegetable wax with IFRA-certified fragrance oils and cotton wicks, designed exactly for the kind of long-term, reusable setups this guide describes.
Ready to start your first candle? Browse Saga Candle Sand →